Below are instructions on how to check if your hottub is compatible (4-wire or 6-wire) and how to install it.
There are only a few steps to this guide, anyone can do this as it is simple and requires no wiring/electrical knowledge.
- Unplug/disconnect your hot tub from the mains
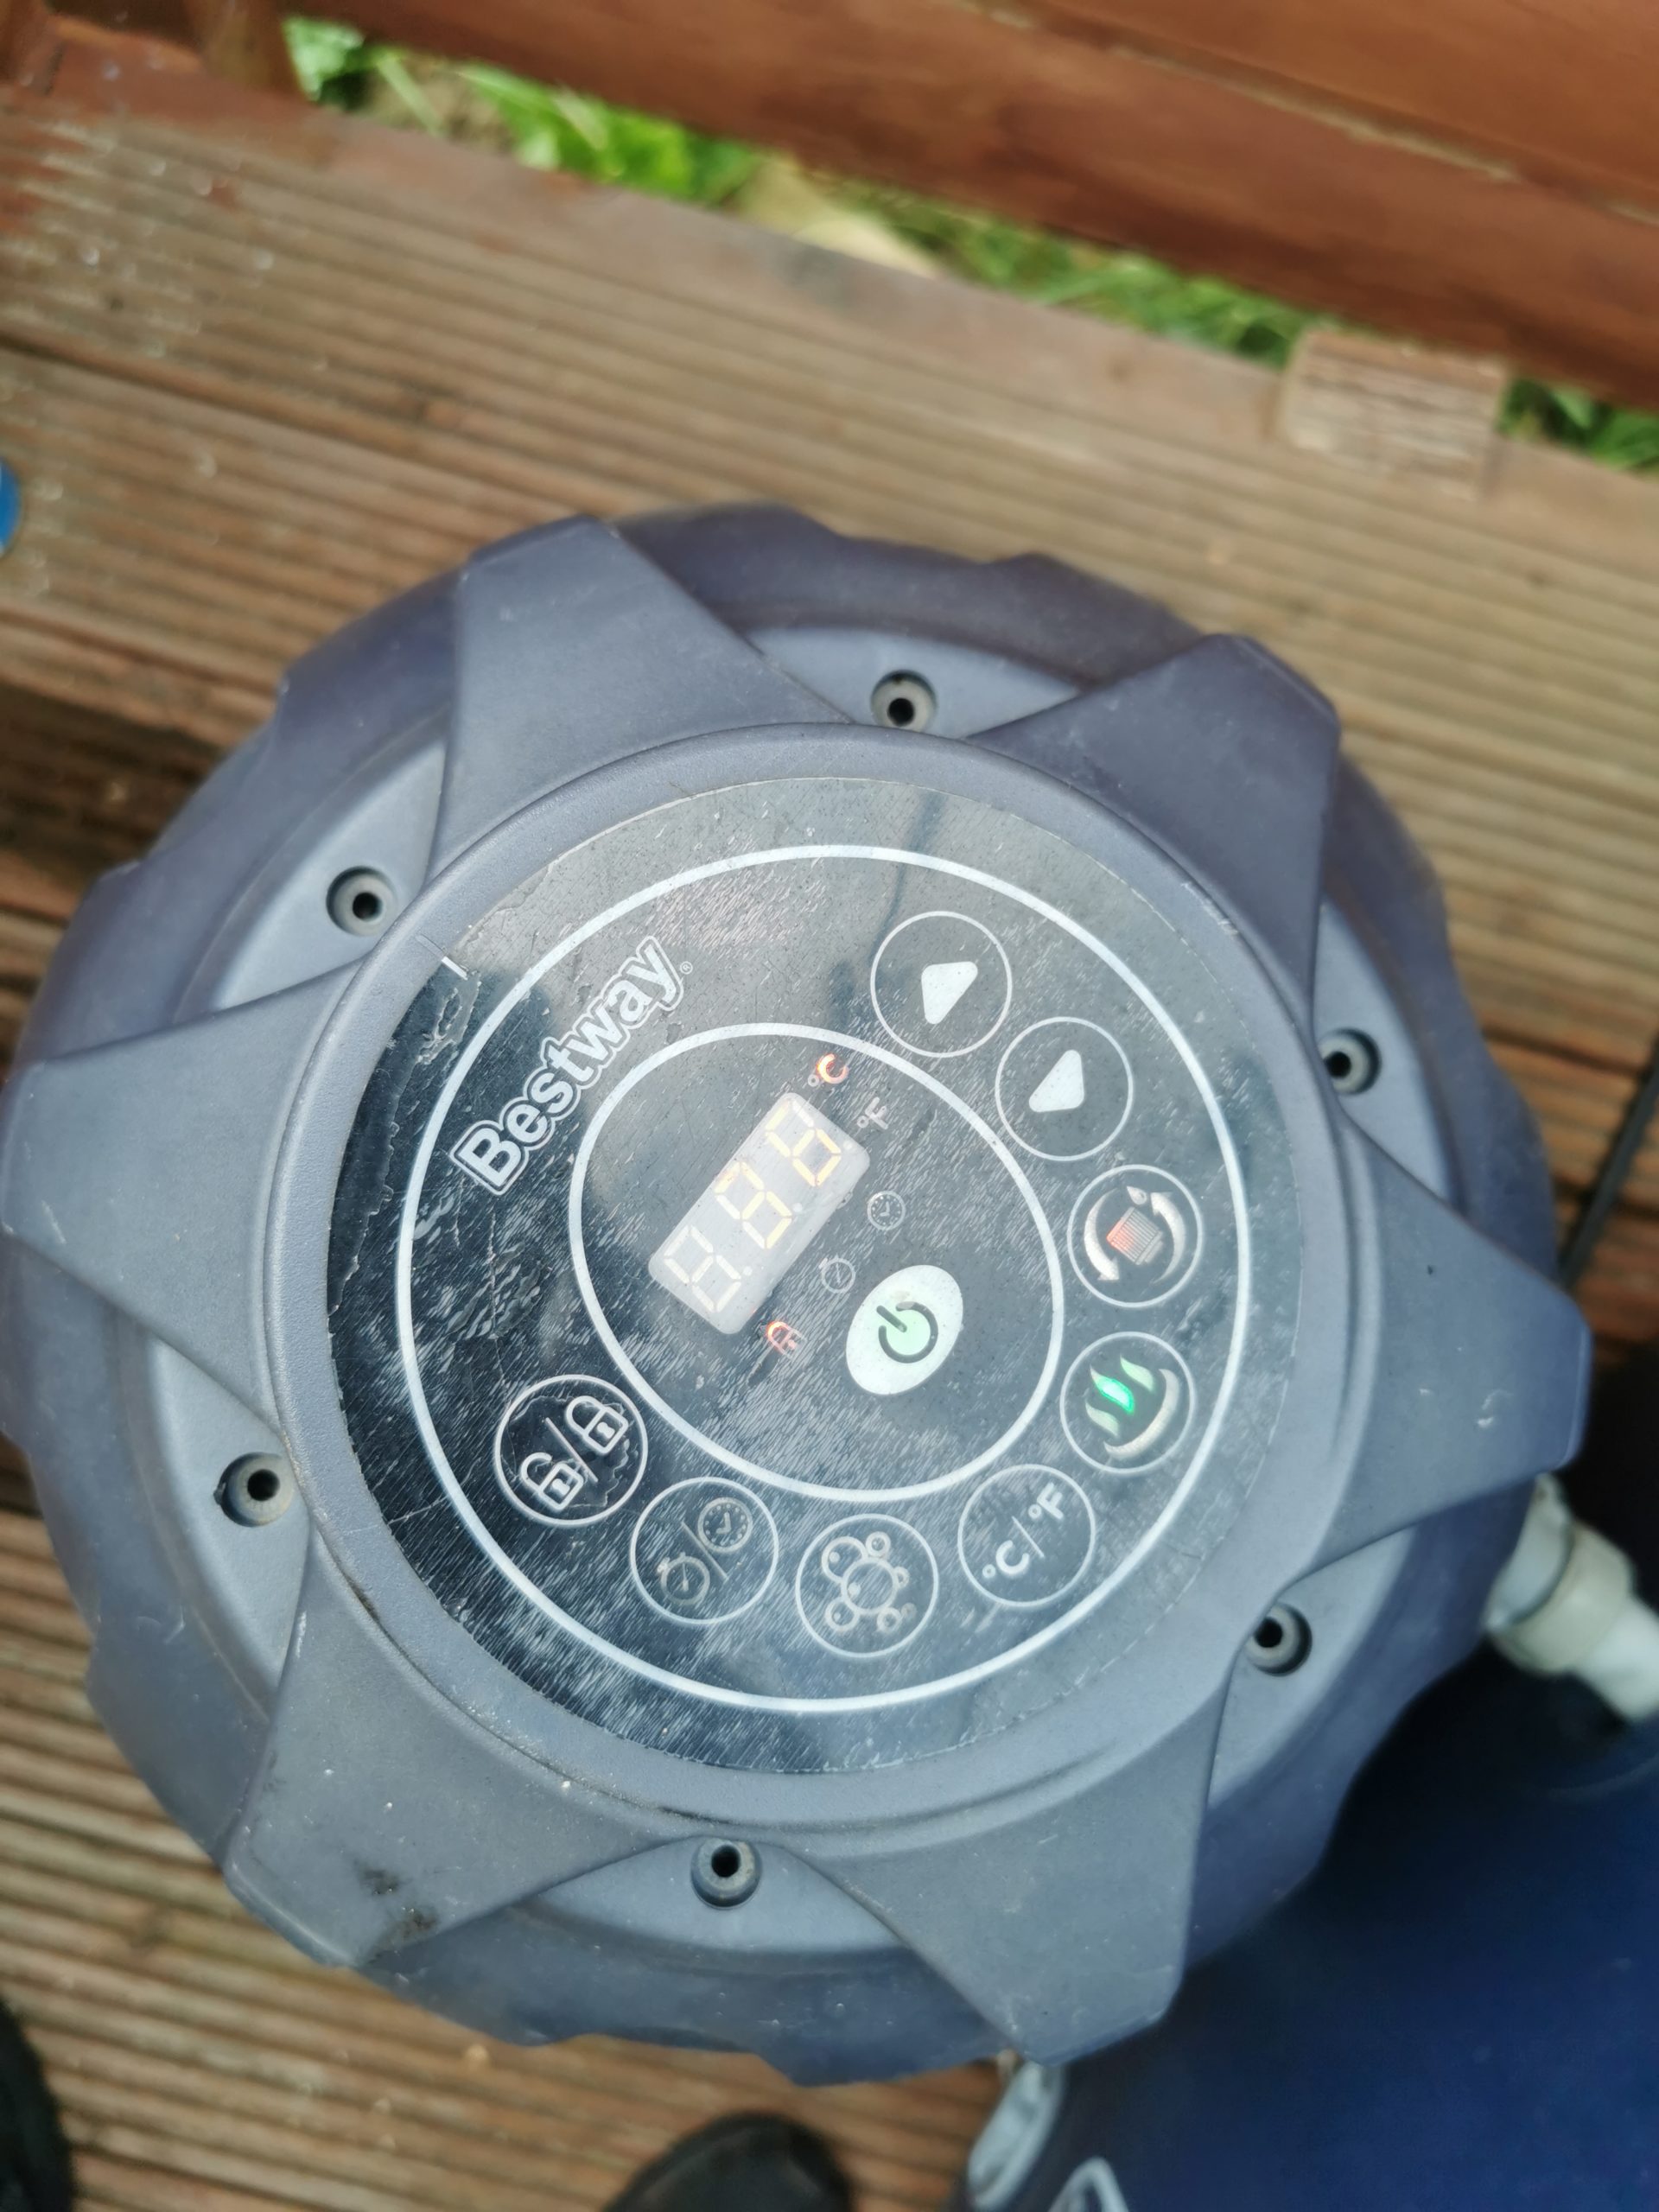
- . Unscrew the 6 or 8 screws from the very top display panel. If yours is airjet then unscrew from the base unit.
-
- Gently lift the display up, careful there are wires attached!
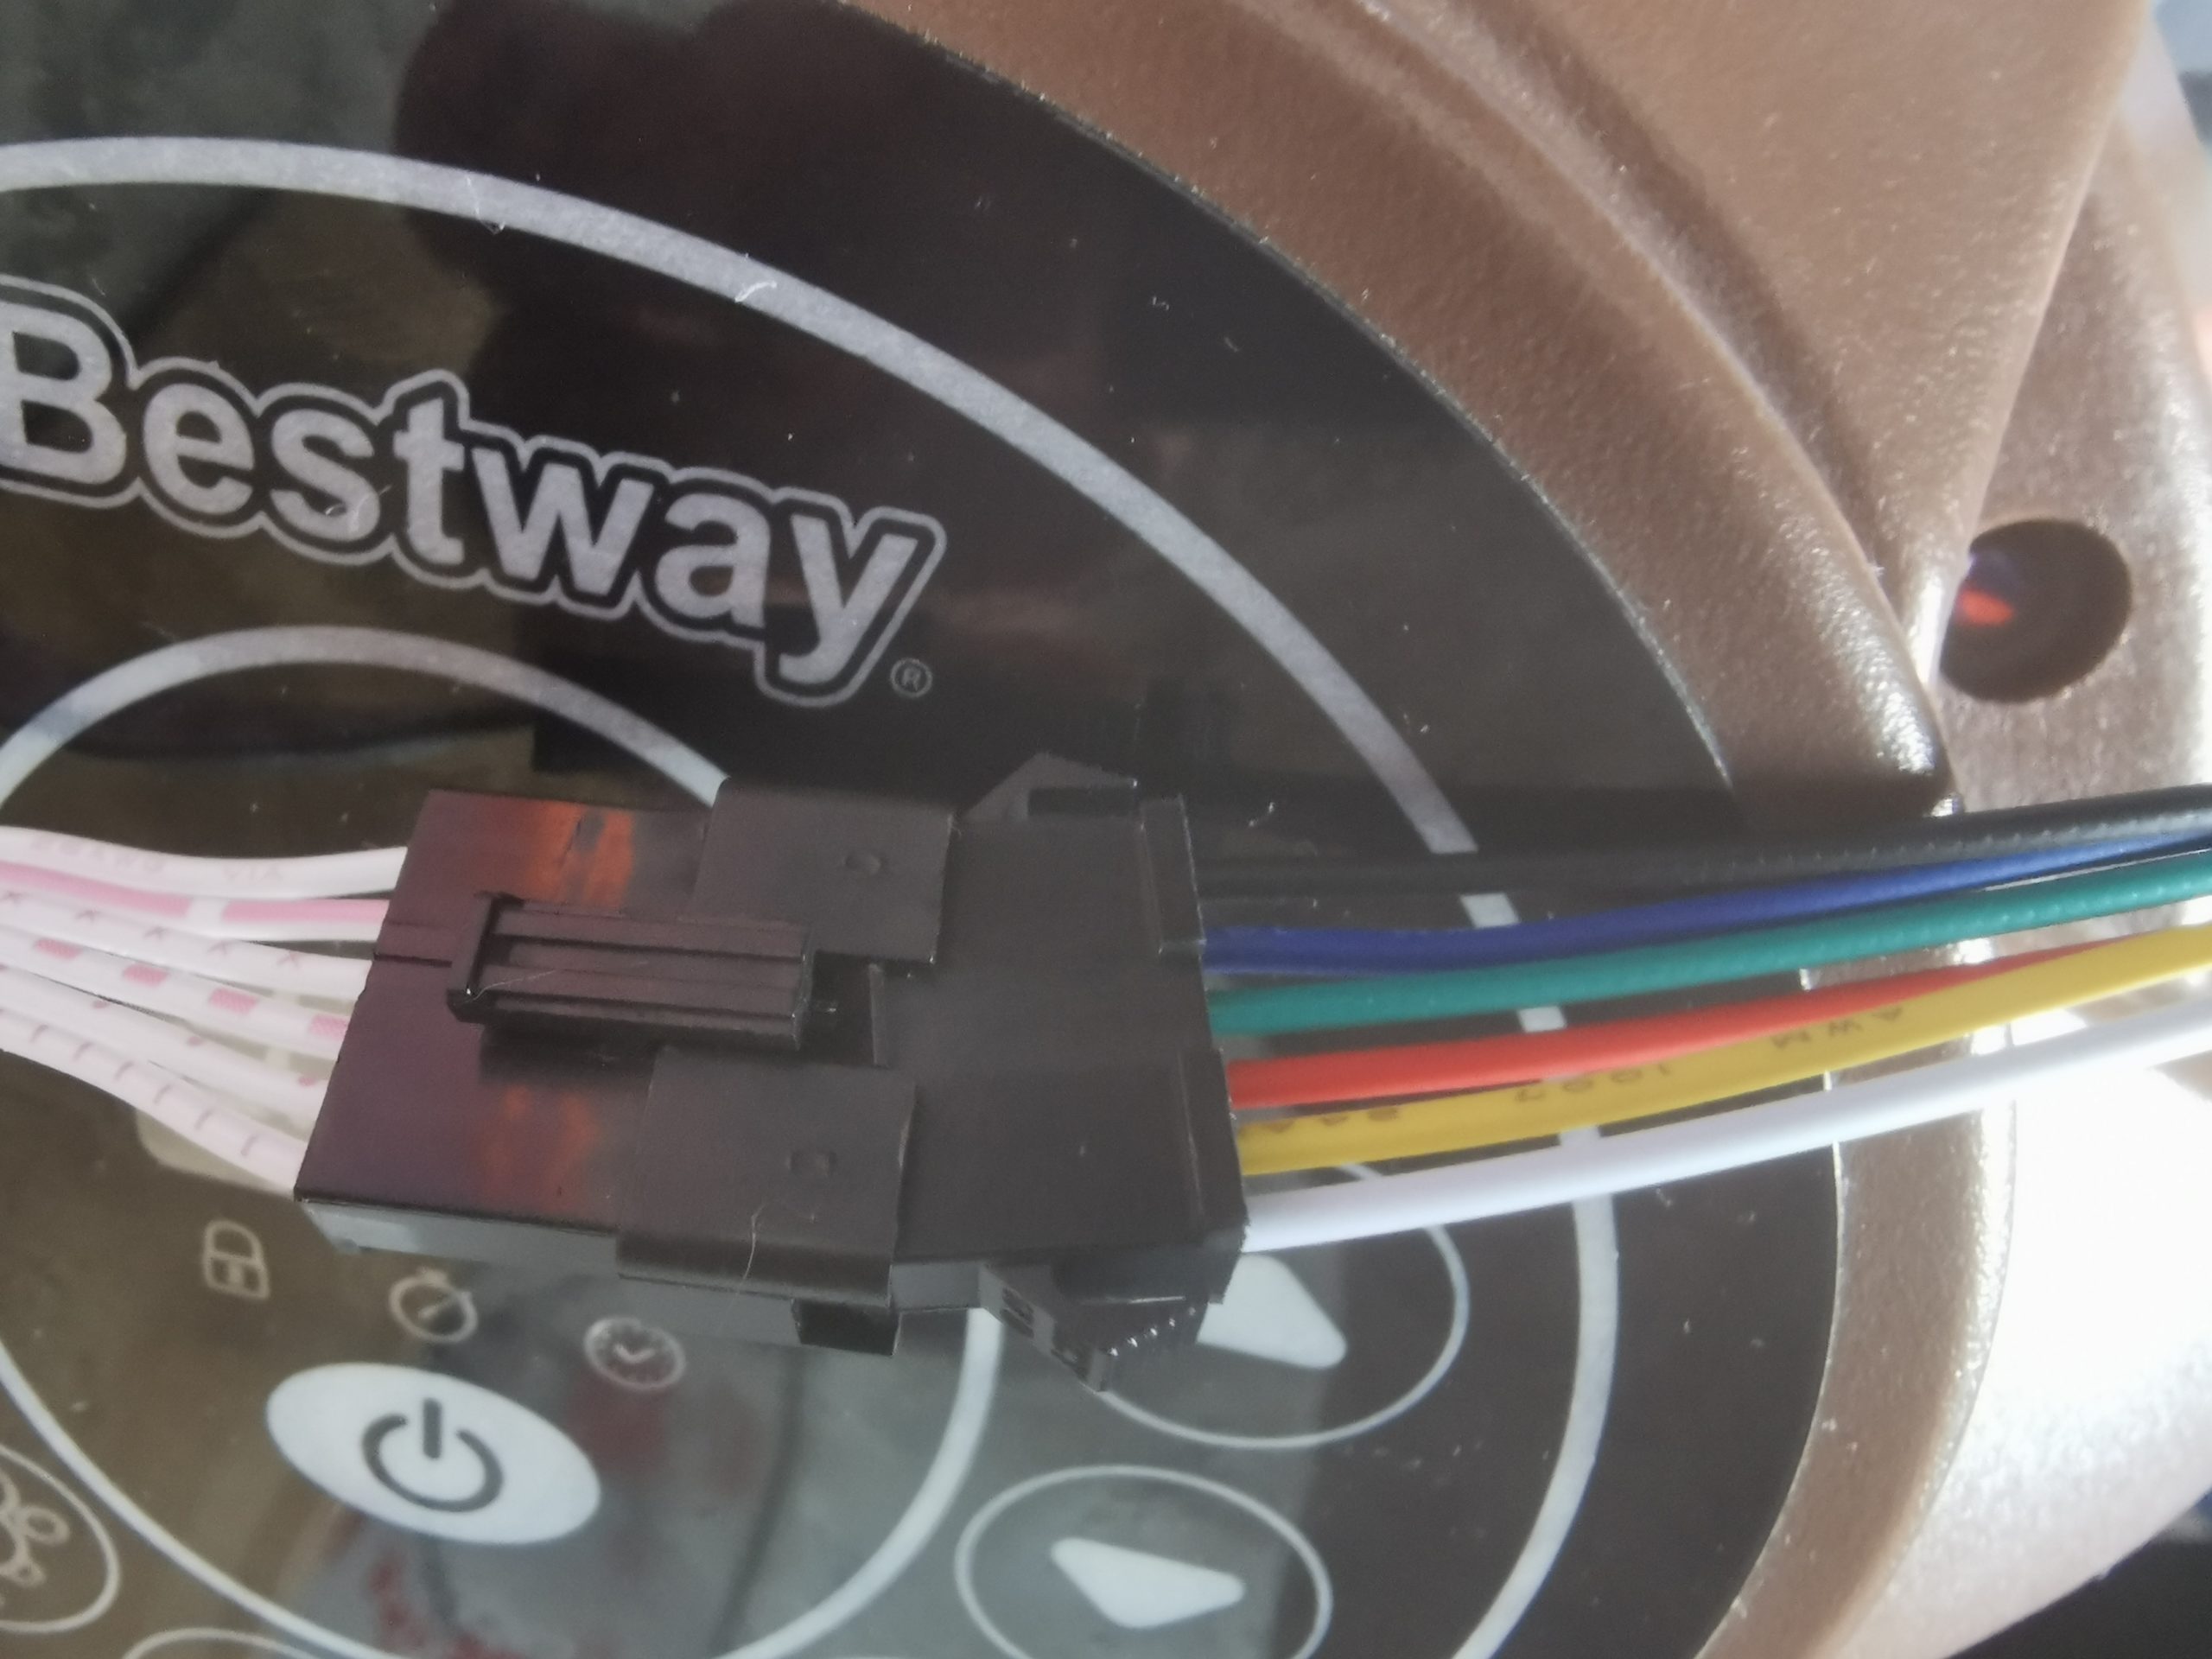
- Disconnect the connector, it is a push-lock fitting so press the lever and slowly separate the connections
-
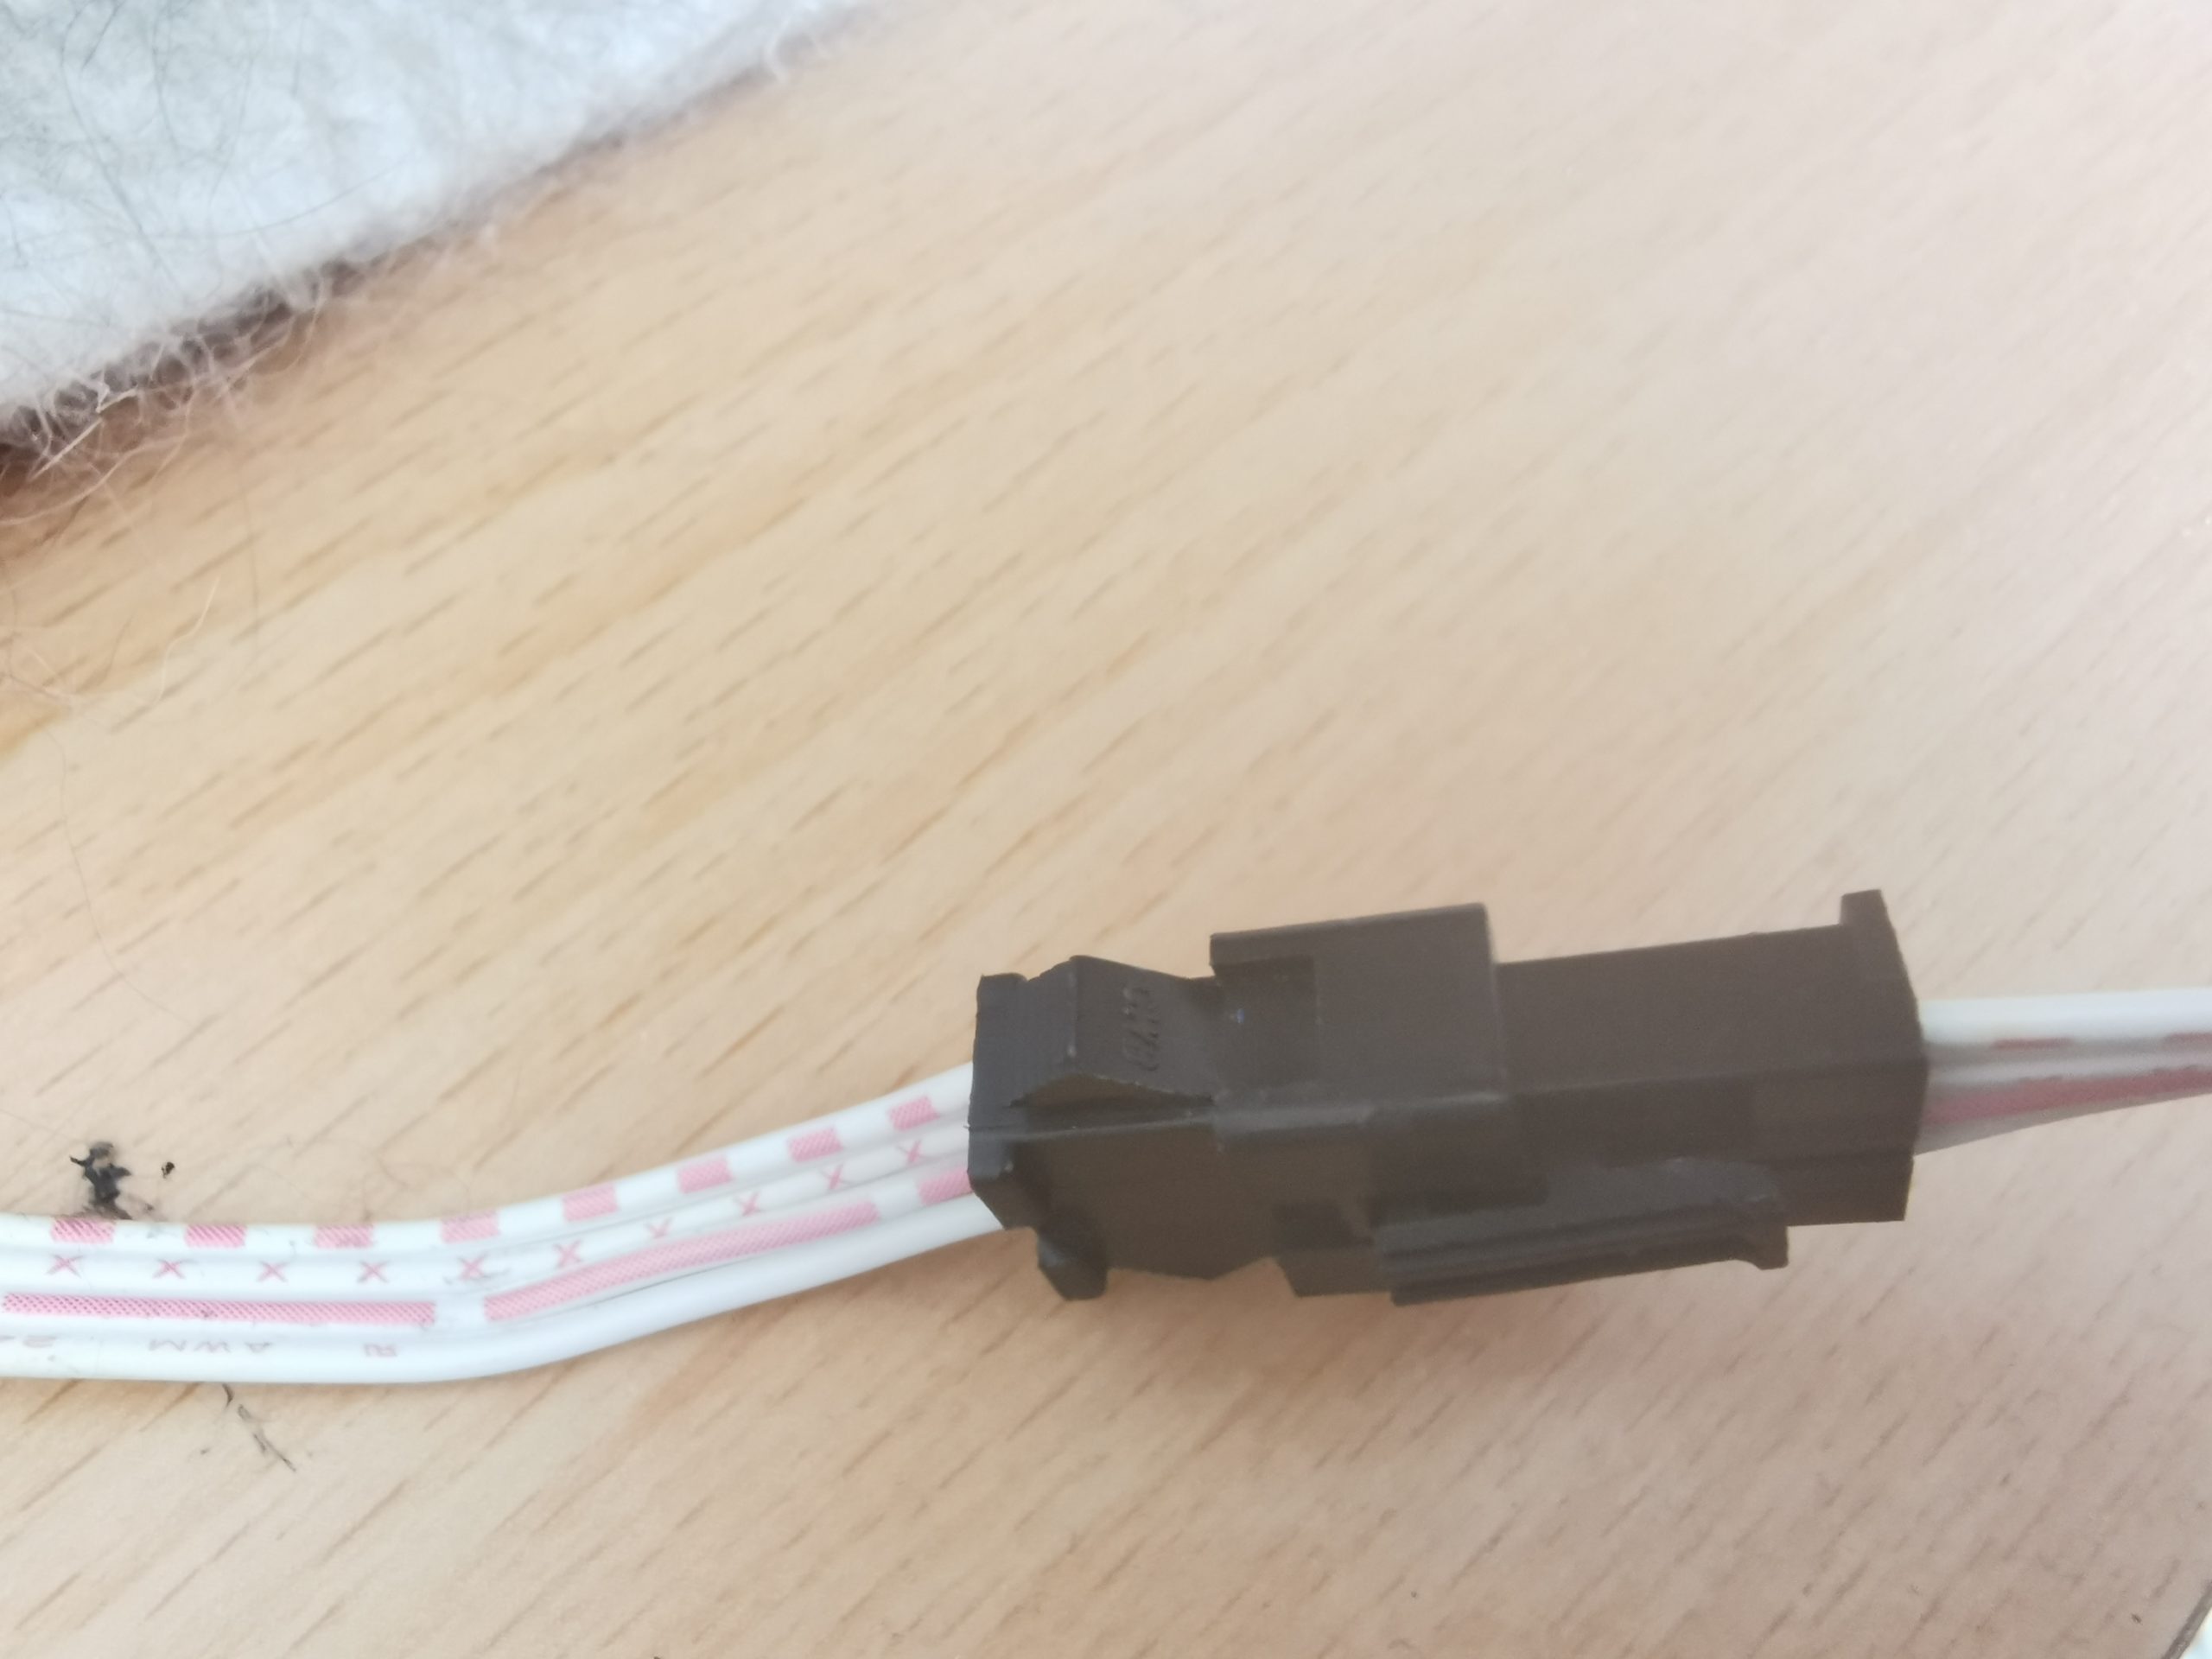
- Check for number of wires in the cable/connector. It will be either 4-wire or 6-wire (Very old models may be 2 or 3 but these are not supported)
-
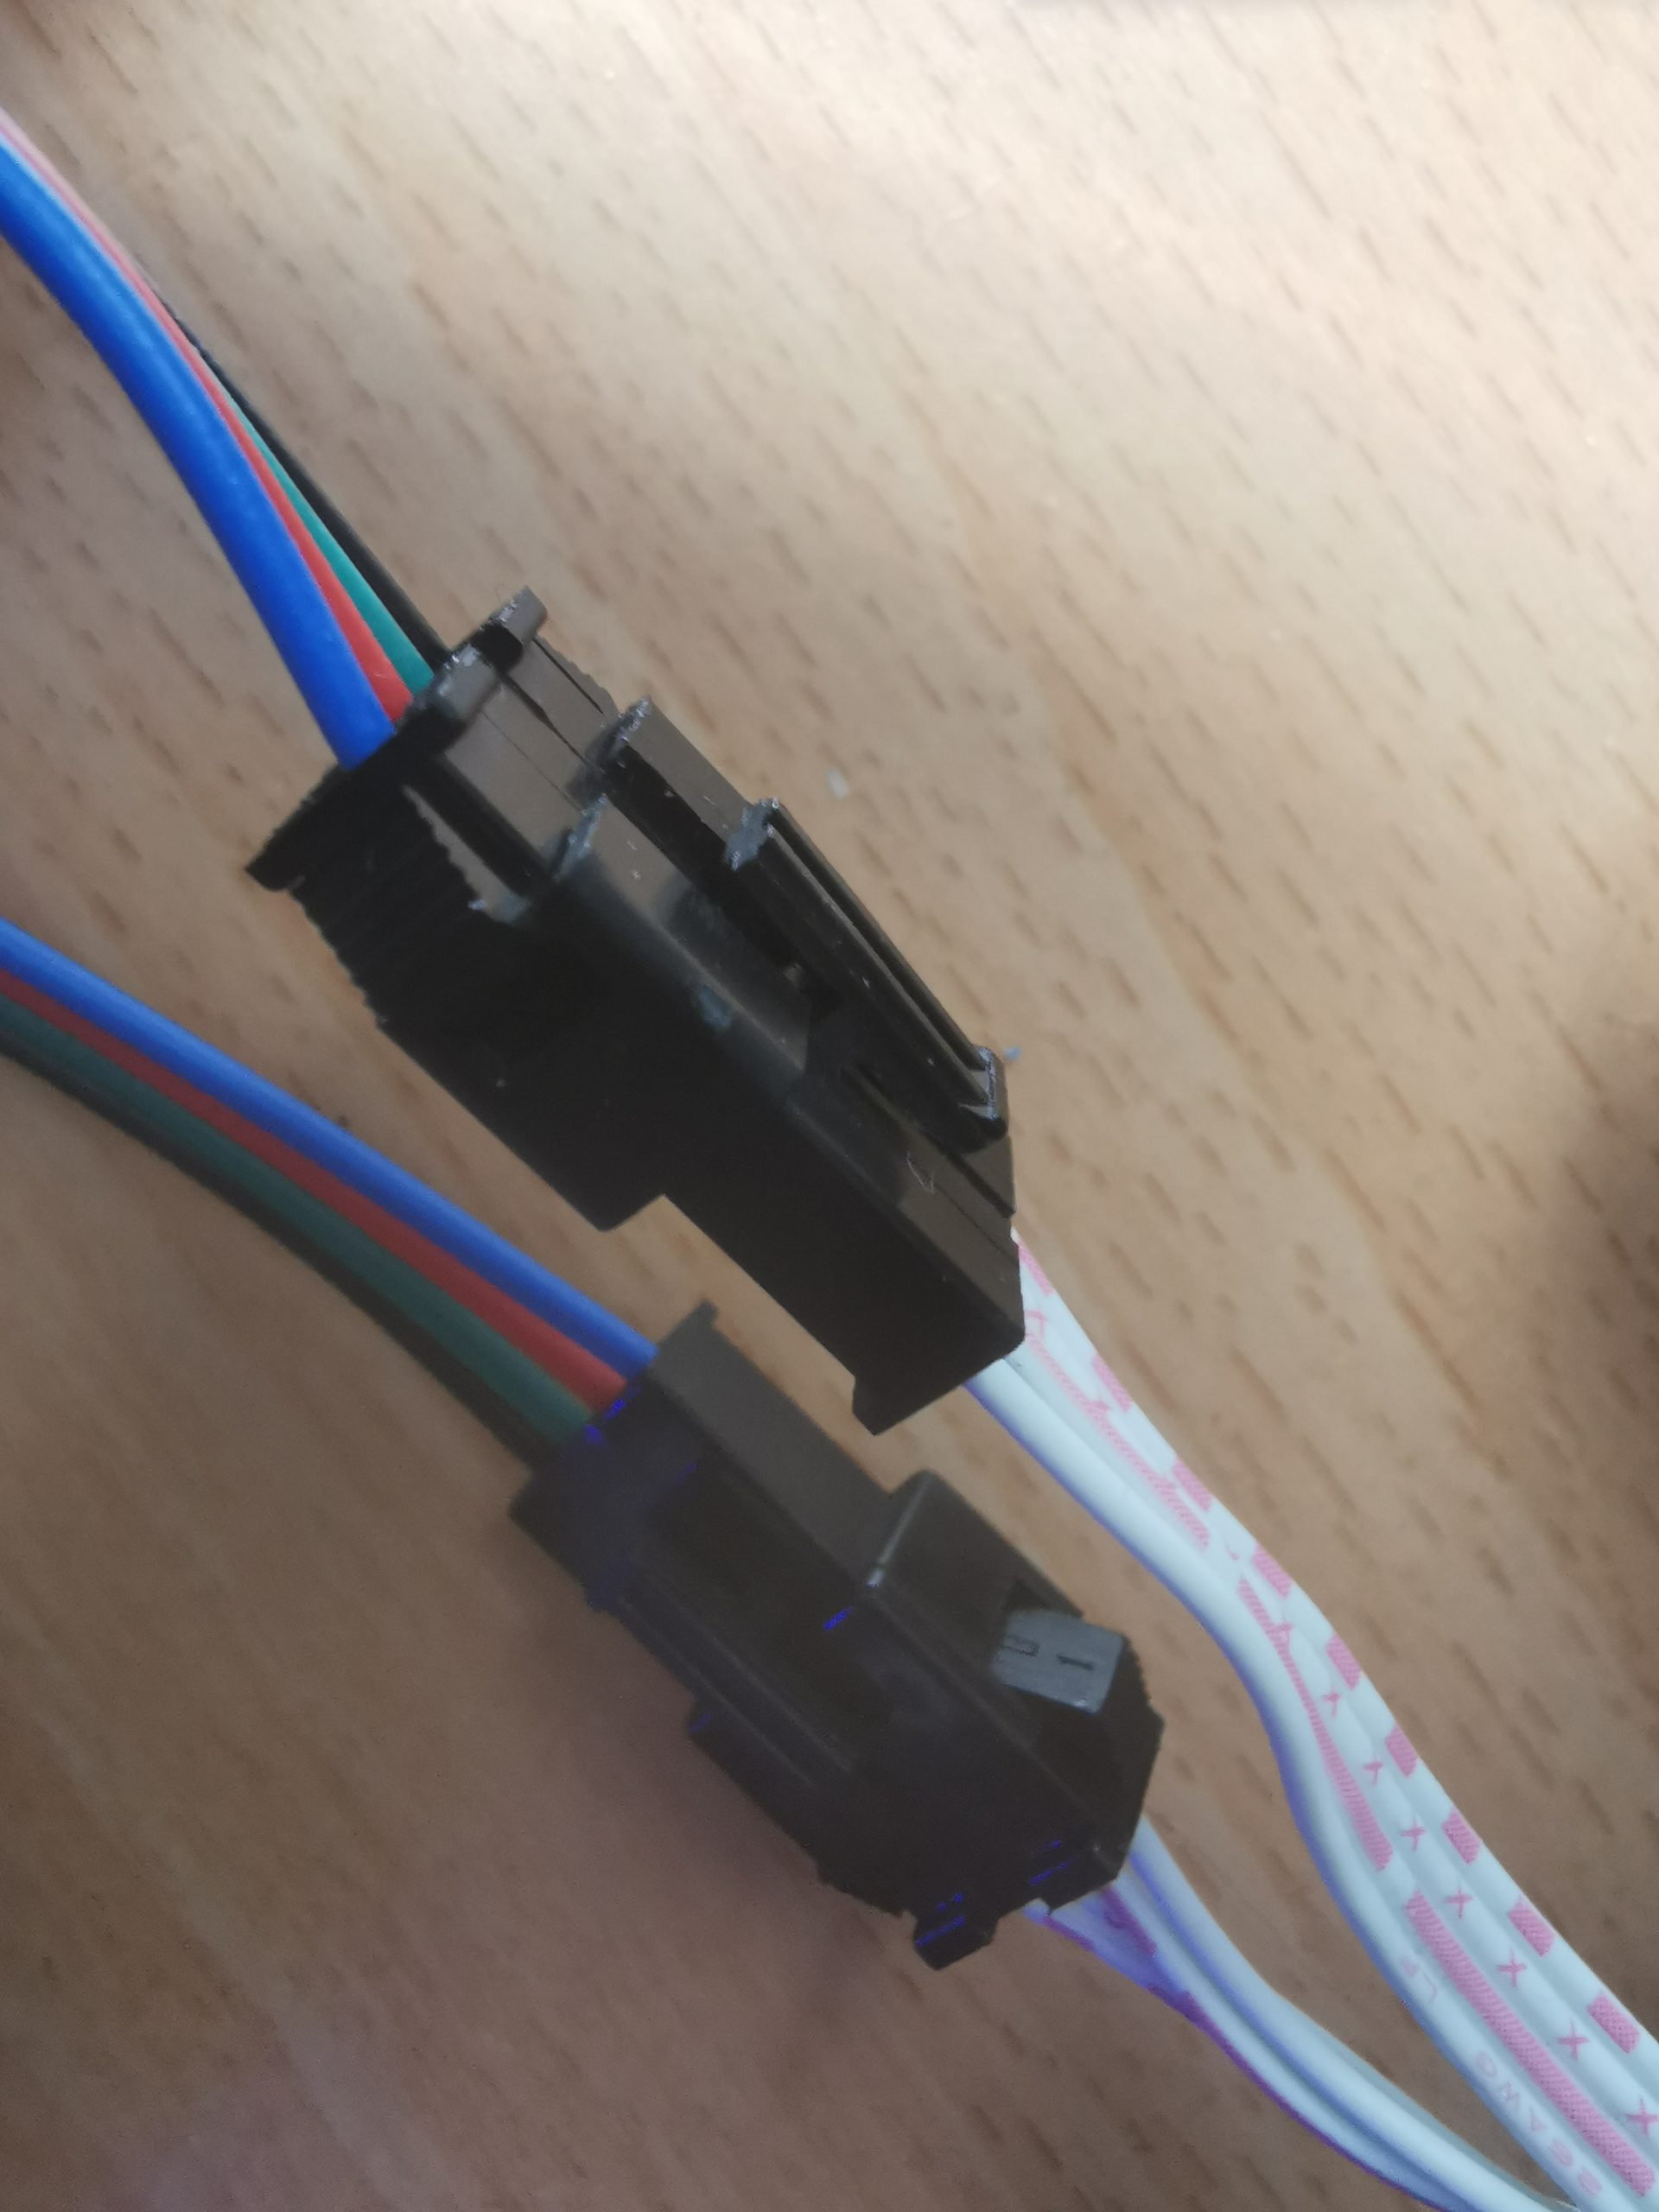
- To install our hottubmanager simply connect it to the two connectors, our unit fits ‘in-between’
-
- Once connected, place the unit inside (rest on the black air pump assembly). You can now either replace the lid and screw together, or to help with setup observe the manager LEDs before re-attaching the lid.
- Power on your hot tub. The hottubmanager will automatically power on and become ready.
-
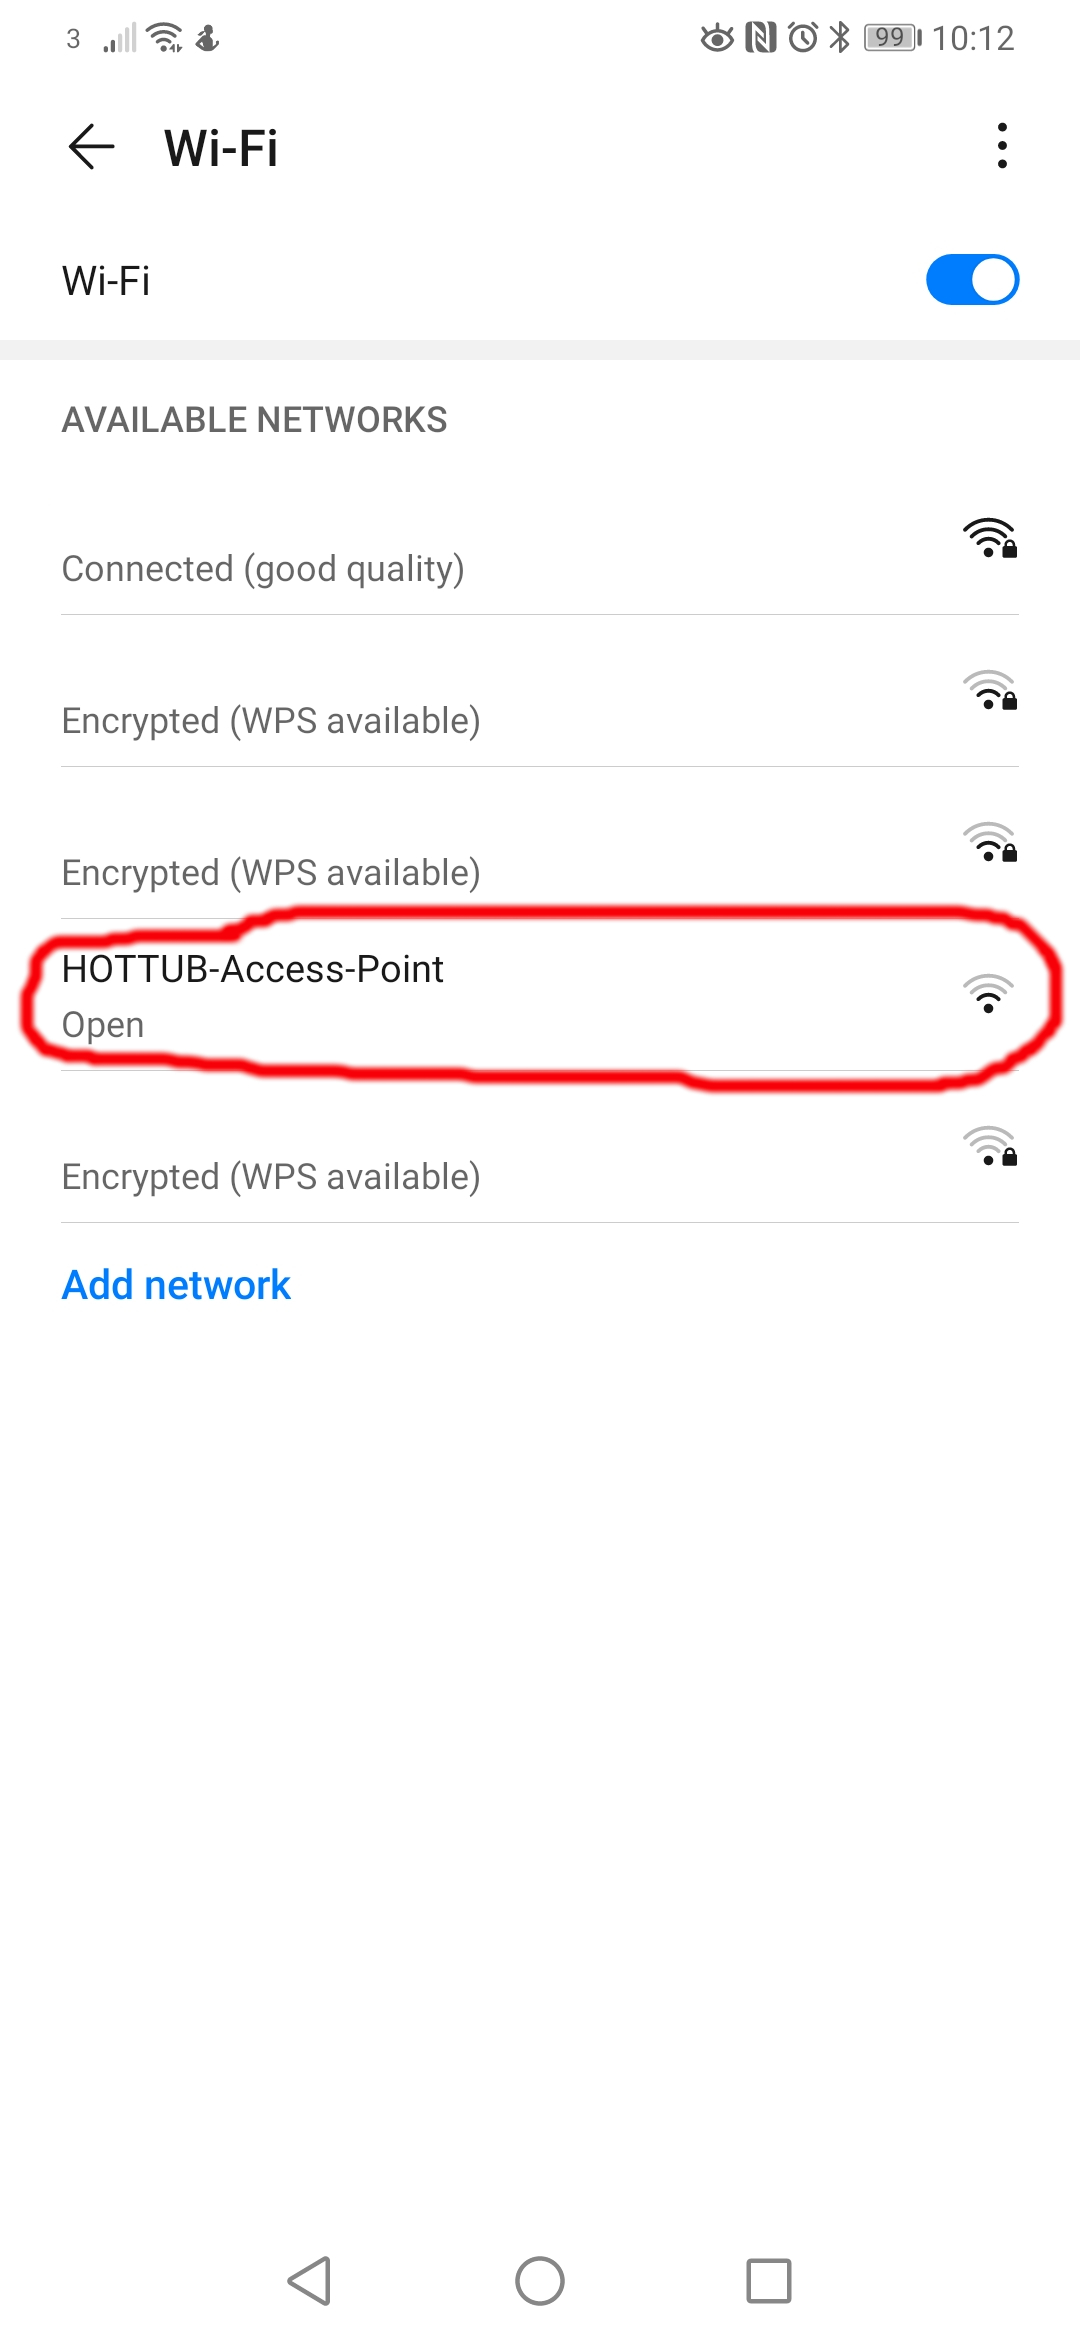
- The white light should flash then be on steady. This means the unit is in setup mode. Search for a wifi name HOTTUB-Access-Point and join it with your phone/laptop.
- On your phone/laptop visit the setup page (most phones will prompt you to visit the portal/doorway page automatically). If it does not, open a web browser and type in: http://192.168.1.1
- Type in your SSID (wifi name) exactly as it is into the top box. (This is your OWN wifi name that your home broadband uses)
- Type in your wifi password (again from your broadband/internet connection) into the bottom box and click SAVE.
- You can now disconnect from the hottub wifi and reconnect to your own.
- The unit will reboot and connect automatically to your network. When connected successfully the white light should go out and the red light will blink slowly as it processes data. This is the normal state.
-
- Visit our login page to view your units status.
You can also watch our video installation instructions: